Hello everyone, how are you?
Today, we’re going to see how we can connect the N8N tool with Google products. To do this, we will go step by step to obtain the necessary credentials. In the end, we will be able to access and modify Google Sheets.
Topics:
- Configuring the Credentials in n8n
- Creating a Project in Google Cloud Console
- Creating Credentials in Google Cloud Console
Creating a Project in Google Cloud Console
The first step is to access the Google Cloud Console and create a new project. If you don’t have a Google Cloud Console account, create one using your Google account.
- Access Google Cloud Console: https://console.cloud.google.com/
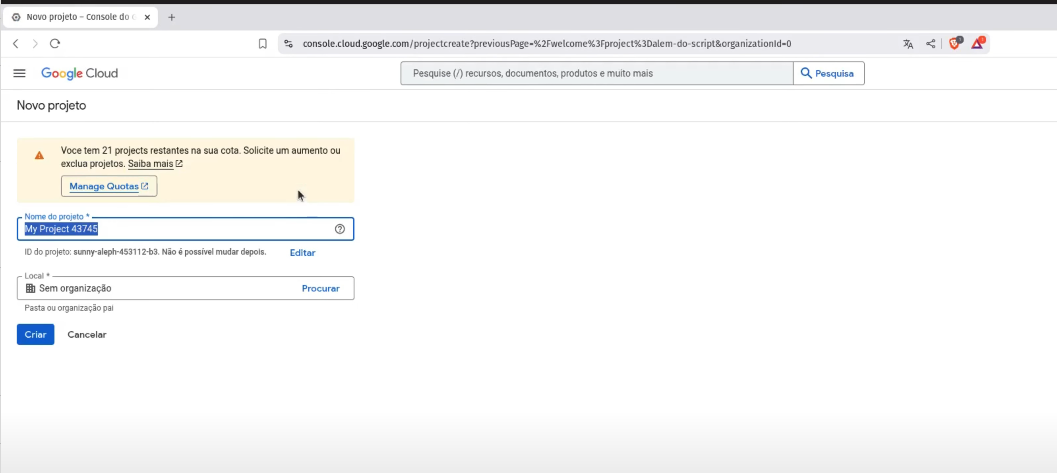
In the upper left menu, click on Projects or Create New Project if you don’t have one already. A screen will be displayed with the option to create a new project. Give your project a name and then click Create.
- Create a Project: Select or create a new project.
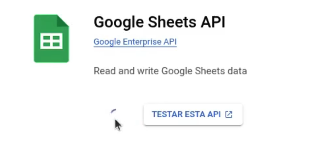
Now, we need to activate the products we want to use in our project. Go to APIs & Services and search for Google Sheets.
When the product opens, choose the Enable option. Follow the same procedure for Google Drive, as we will need access to files.
- Enable the Google Sheets API:
- In the left menu, go to API & Services > Library.
- Search for Google Sheets API and enable it.
- Enable the Google Drive API (necessary for file access):
- Similarly, search for and enable the Google Drive API.
Creating Credentials in Google Cloud Console
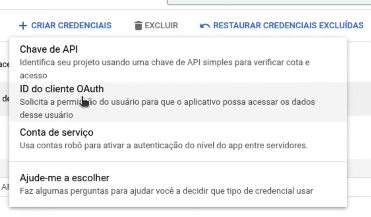
With the required APIs enabled, let’s now add credentials so that N8N can access them. Go to the Credentials menu and choose the second option.
During the first setup, you will need to fill out the Consent Screen. Enter details such as the app name, support email, and other required information.
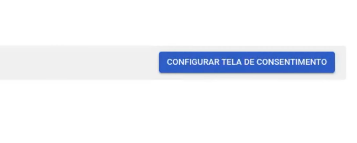
- Filling Out the Consent Screen
- User Type: External
- Test User: Your email
Now, access the OAuth Clients menu. Under Application Type, select Web Application. Give the application a name and in Authorized Origins, add the URL of your N8N instance. Then, click Create.
- Creating the Credential:
- In the APIs & Services menu, go to Credentials.
- Click Create Credentials and select OAuth 2.0 Client ID.
- Choose Web application as the application type.
- In the Authorized Redirect URIs section, add the redirect URI
After creation, Google will provide a Client ID and Client Secret. These will be used in N8N.
Configuring the Credentials in n8n
Now that you have the Client ID and Client Secret, it’s time to configure the credentials in N8N.
Access N8N:
- Open the N8N control panel.
Go to Credentials:
- In the top menu, click Credentials.
- Click New Credentials and select Google Sheets OAuth2 (or another Google service like Google Drive, depending on your needs).
Fill in the Details:
- Client ID: Paste the Client ID obtained from Google Cloud Console.
- Client Secret: Paste the Client Secret.
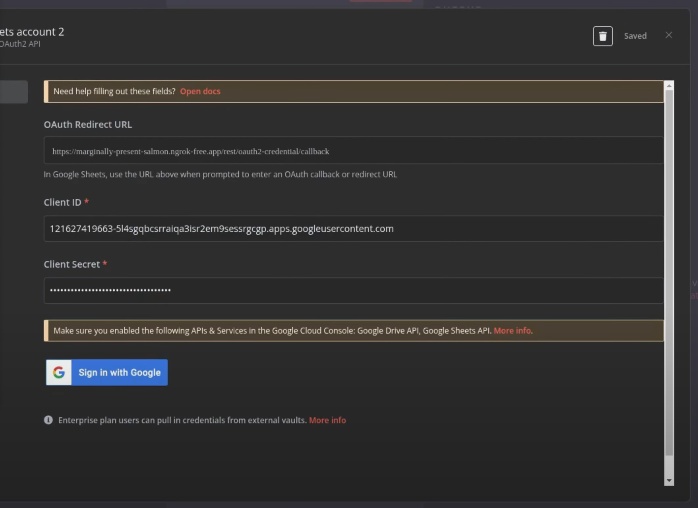
Authenticate with Google:
After filling in the credential details in N8N, click Sign in with Google.
- N8N will open a window requesting permission to access your Google Sheets.
- Grant permission for N8N to access your Google Sheets data.
- Google will redirect you back to N8N, completing the authentication.
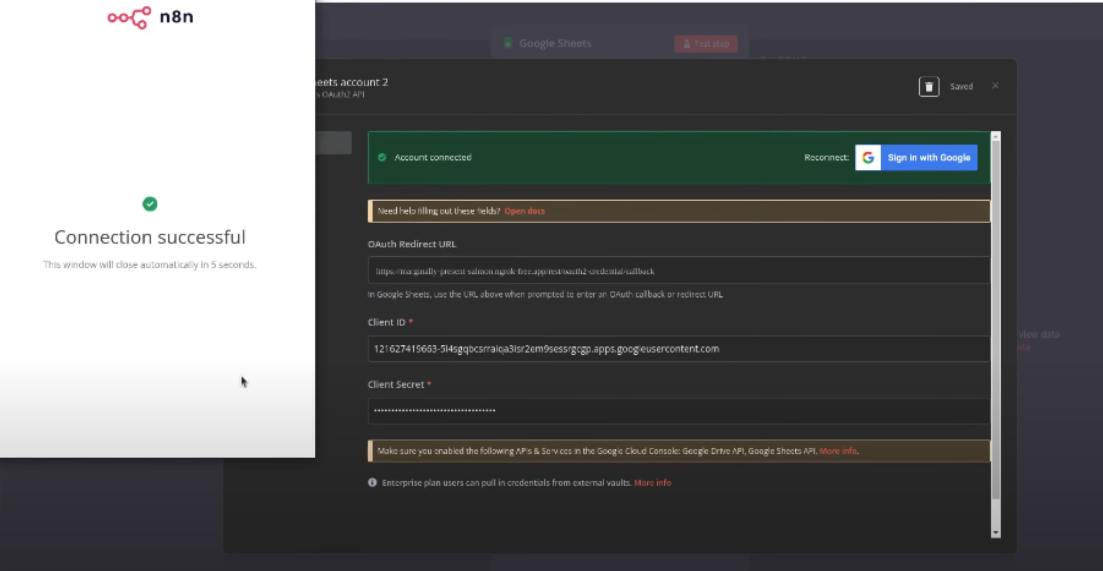
If everything goes well, your credentials will be saved, and you’ll be able to use Google Sheets directly in N8N workflows.
That’s all for today, folks! Hope you enjoyed it.